Make pottery at home
Pottery is one of the few crafts with a genuine literature, because the studio-pottery movement of the twentieth century produced writers as well as makers. This path starts with the book that founded that tradition, moves into the physical skills of hand-building and throwing, and finishes with the chemistry that separates a pot you made from a pot you can use. The older titles here are not nostalgia: Leach, Cardew and Rhodes are still the texts working potters cite, and their explanations of why clay behaves as it does have not been improved on.
Why potters think the way they do
BeginnerUnderstand clay as a material and pottery as a discipline before touching a wheel.
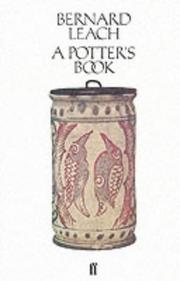
The book that turned studio pottery into a discipline with a philosophy rather than a trade. Leach is opinionated and occasionally wrong, but no other book explains so clearly why a pot's form follows from how clay wants to move. Read it first so everything technical afterwards has something to attach to.
Berensohn teaches pinch pots — the simplest possible technique — and uses them to get at attention, patience and the feel of the material. The right second book precisely because it demands no equipment: you can do everything in it with a lump of clay on a kitchen table.

The standard survey, and the one to keep open while you work. Peterson covers every forming method with enough photographs that you can see what a step is supposed to look like, which is the thing prose alone cannot give you.
Hands, then wheel
BeginnerBuild real skill: coil and slab work first, then centring and throwing.
Birks is the clearest step-by-step for a beginner working alone. The sequences are photographed at the angle you actually see your own hands from, which sounds trivial until you have tried to learn centring from a photograph shot from the other side of the wheel.

Atkin organises by the part that goes wrong — lids that do not fit, handles that crack off, spouts that dribble. The most practical book here, and the one that answers the questions you will actually have in month two.
Rogers is a working potter writing specifically about the wheel. Short, unglamorous, and focused on the small corrections that turn a wobbling cylinder into a straight one.
A studio textbook, so it assumes you want to know why as well as how. Useful once you have thrown enough to have opinions and want to understand what you have been doing.
Glaze, kiln, and the chemistry underneath
IntermediateTake control of surface and firing instead of hoping for the best.

Rhodes wrote the book that made glaze chemistry legible to potters rather than chemists. It is nearly seventy years old and still the standard explanation of what each oxide does and why a recipe behaves as it does.

Most home potters fire mid-range, and Britt is the modern reference for exactly that window. Dense with tested recipes and photographs of results — treat it as a lookup table, not a read-through.
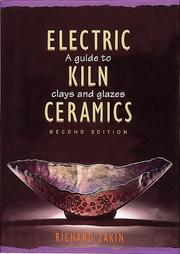
If you fire at home it is almost certainly in an electric kiln, which behaves differently from the gas kilns most older books assume. Zakin covers the specifics: cone ratings, firing schedules, and what an electric atmosphere does to a glaze.
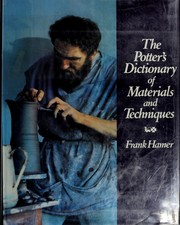
The reference you keep on the shelf and consult for years. When a recipe calls for something you have never heard of, Hamer tells you what it is, what it does, and what happens if you leave it out.

Cardew wrote this for potters with no supply chain — how to find and process your own clay, build a kiln, make glazes from raw materials. Far beyond what a home potter needs, and worth reading for exactly that reason: it shows you what every convenience is standing in for.
Discussion
Keep reading
Paths that share books, cover the same subject, or open a related topic.